The 3D Project
The 3D Project allows the designer to transition from traditional 2D design into world of 3D modeling and augmented reality.
Specifically, students will:
Design 3D content and models using Illustrator, Dimension or Sketchup.
Subject matter can be a dream house, room interior, or vehicle.
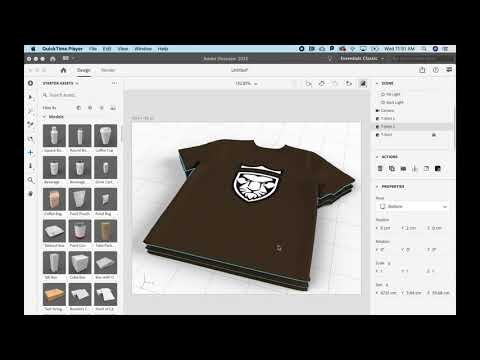
Use the following learning assets for this project:
Illustrator 3D modeling and Dimension room interior sample
The 3D Project will be assessed by:
Professionalism - Project is done "to spec", follows directions, and fulfills all requirements.
Craftsmanship - Project exhibits an admirable application of design principles, an aesthetic style, and use of app workflows.
Challenge - There is producible evidence that the final design underwent the entire design process and was significant challenging.
Originality - Project content is unique (not copied, derivative, a template, AI generated in part or whole, or a reproduction of a tutorial).
Note: Images referencing drug use, guns, violence, hate speech, etc. are not permitted.


Process
1. Communicate
With the 3D project, start by giving yourself a client questionnaire in order to form a clear design brief.
Here are some essential question you need to ask yourself:
What is the subject?
Who is the style and target audience? Young kids? Teens? Fitness enthusiasts? etc.
What is the brand name?
Which fonts, color scheme, illustration style, etc. would align best with your given subject matter?
2. Research
Based on your design brief, visit the following websites and conduct related searches for inspiring examples, tutorials, or asset (fonts, color schemes, etc) that you might use:
Google (topic search)
Coolors (color schemes)
Behance (illustration styles and tutorials)
Adobe Fonts (tons of activate-able fonts)
Dafont (tons of downloadable fonts)
Google Fonts (tons of downloadable fonts)
(And any other good logo-based resources you can find.)
You can either download these images or screen grab them (CMD+Opt+4 for Mac).
After you have at least 20 or more assets, copy/paste or drag/drop these assets into an illustrator document (3000px X 3000px). Be sure to save this .ai document as "3D Moodboard".
3. Ideate
Based on your moodboard, grab your sketchbook and draw at least 4 possible layout solutions.
From these initial 4 solutions, selected one. Flip the page over and draw 4 new variations based on the initial solution you selected.
From this second round of 4, pick your top solution.
Before you fully commit, get some feedback from classmates, family, . . . anyone you can. Listen to learn - and be open to suggestions - you might come up with an even better solution with some outside feedback.
4. Formalize
Using your design brief, moodboard, and drawings, start your project using the appropriate 3D modeling tool (note: be sure to reference “Specs and Standards” below).
Requirements
and Standards
Your 3D project should be:
Completely original work (not imported, AI, etc.).
Modeled in Illustrator, Sketchup, or Blender.
Rendered in Dimension at a resolution of at least 1000px x 1000px
Issues and
Guidlines
Here are some common challenges and helpful guidelines for AR designers to consider.

Make sure to create your own 3D content using Illustrator, Dimension or Sketch Up.

Make more than just make a locked, static scene (or one that is interesting only from one perspective). Make the viewer want to move around and consider using animated or interactive elements.

Use either an image anchor or geolocation to place your model in space.

Avoid using your full name on public exporting of your AR model.